| Drawing is a big part of work in all art prodution, whether 2D or 3D! Want to improve your drawing skills? Get a sketchbook! Draw in your sketchbook from life every day, arrange to meet with the teacher for feedback, and as often as you can attend Life Drawing Wednesday evenings 6-9pm at the Boston Museum of Fine Arts (FREE models and supplies!). | |||
Drawing is a skill, learned with practice! If you draw from life every day you will get better. Show your work for feedback to improve faster. Don't draw from pictures or the result will be flat; draw the people and objects around you! |
 | ||
| 2) LEARN TO DRAW WHAT YOU SEE: To improve your eye-hand connection, try drawing your own hand as one continuous line without looking at your paper. Try including details like knuckles, veins, wrinkles, nails, cuticles, etc. The result may look silly, but the picture doesn't matter: the point is to try moving the pencil according to what you see, and to pay attention to small details. You can also do this with your face looking in a mirror, or the face of someone else. This is practice drawing what you actually see, not your idea of the object and what it should look like. As Paul Valery said: "Seeing is forgetting the name of the thing." |
 | ||
| 3) HUMAN PROPORTIONS:
|
 | ||
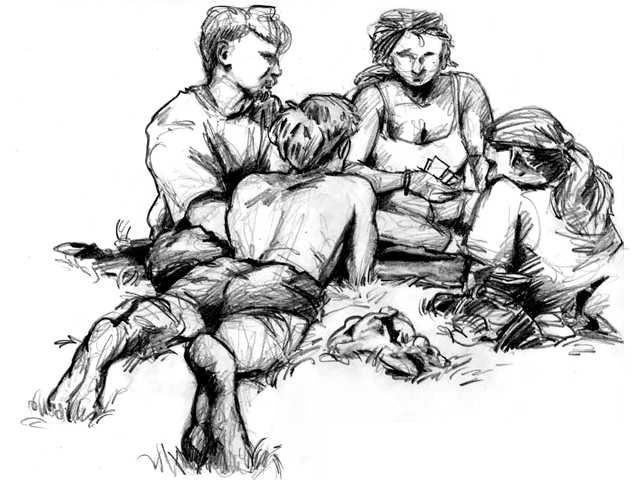
| 4) POSE ANGLES: Looking at the model, note the angles of limbs and torso, especially hips and chest which are often opposite (contrapposto).
|
 |
||
| 5) FORESHORTENING: Where are you positioned, relative to your live subject? Which limbs are closer to you, and seem bigger? Which are further away, and appear smaller or shorter? Measure relative distances with your fingers! Is the figure holding a prop, clothed, sitting on furniture? How do these other forms add to weight and balance? Try these Architecture Perspective tutorials: One-point | Two-point | Three-point |
 |
||
| 6) VOLUMES:
Think of the torso and limbs as cylinders. When drawn at an angle, the top and bottom of these cylinder appear curved. These curves can be used to define your form. Joint Curves define limbs: turn a knee curve up to raise the knee. Turn the knee curve down to lower it. Same with torso and head curves. Shadows: Where does the form face a light source, and where is it in shadow? Fill those shadows! Where does cloth overlap the form, shading where they meet? Where does cloth drape, wrinkle, and pinch to occlude itself and create shadows that help to visually define the type of cloth (with varied thickness and density)? |
 |
||
|
You will improve fastest if you draw from life: real people in the world, not from photos. You don't need a live modeel class to draw real people: In middle school when my family needed to shop for clothes, I sat on a bench in the mall and drew the people around me. Sometimes they sat for a while, sometimes I had to get their form down as quick gestures in 10 seconds before they moved on. To practice drawign hands and faces, draw your own hands and your head in a mirror, at different angles! Get an anatomy for artists book, to help you learn the bones and muscles and how they can be drawn. This will help you pay attention to these forms for when you see them in life. Pay attention to the way clothing hangs and wrinkles on the body: where it pulls (like a shirt on a shoulder), where it drapes (the long lines of a blanket tossed on a chair) and where it breaks (like where the shirt bunches where it is tucked into or hits the top of the pants, or where pants bunch when they hit the top of a shoe). | |||
| If you go to the Boston Museum of Fine Arts Free Wednesday Life Drawing:
|
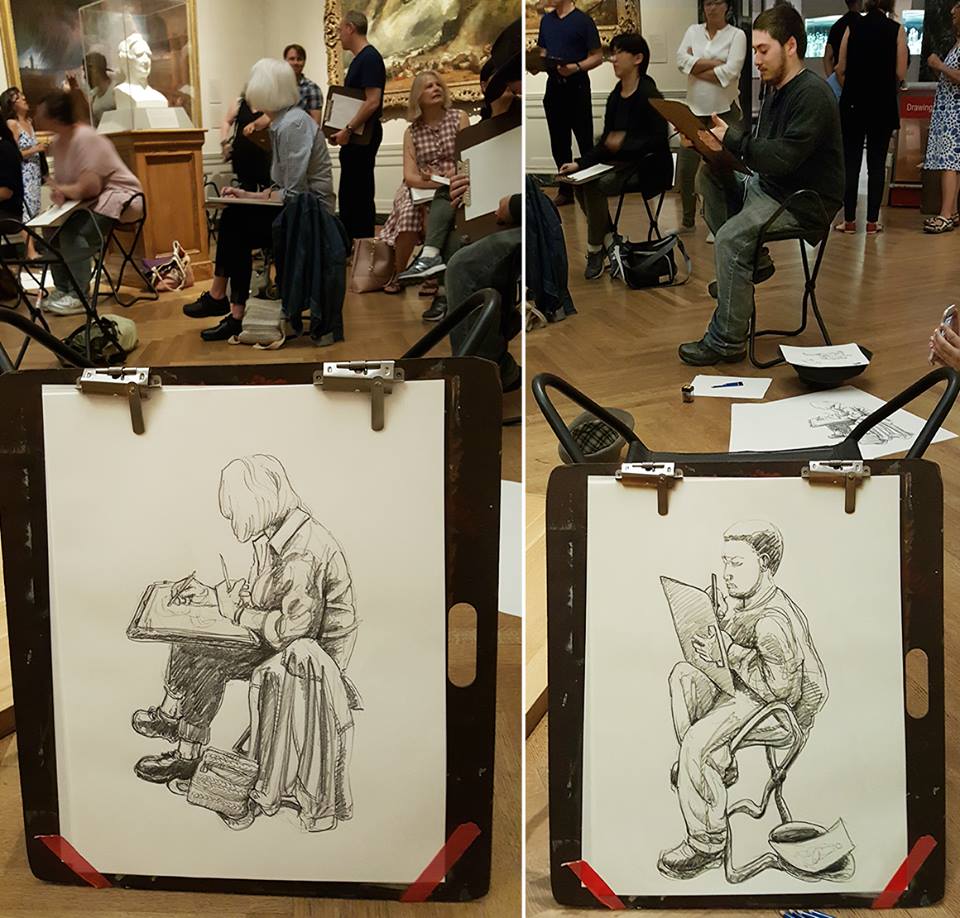 Arrive too late to get a good seat for the model? Draw the other artists! |
||
| FINALLY, CONSIDER:
Seeing is forgetting the name of the thing -- Paul Valery Don't try to draw a "salt shaker" or a "trash can." Try to ignore what you know about the subject. Just LOOK, and try to draw the shapes, angles, volumes, and shadows you see before you. You have to be brave before you can be good -- Brian K. Vaughan Like archery, where you have to get through a hundred poor shots before you can reliably hit your target, expect you will draw a lot of mediocre work before you can start getting"good": start understanding proportion, composition and volume, and reliably move your hand to translate that to the page. What are you waiting for? Get drawing! |
|||